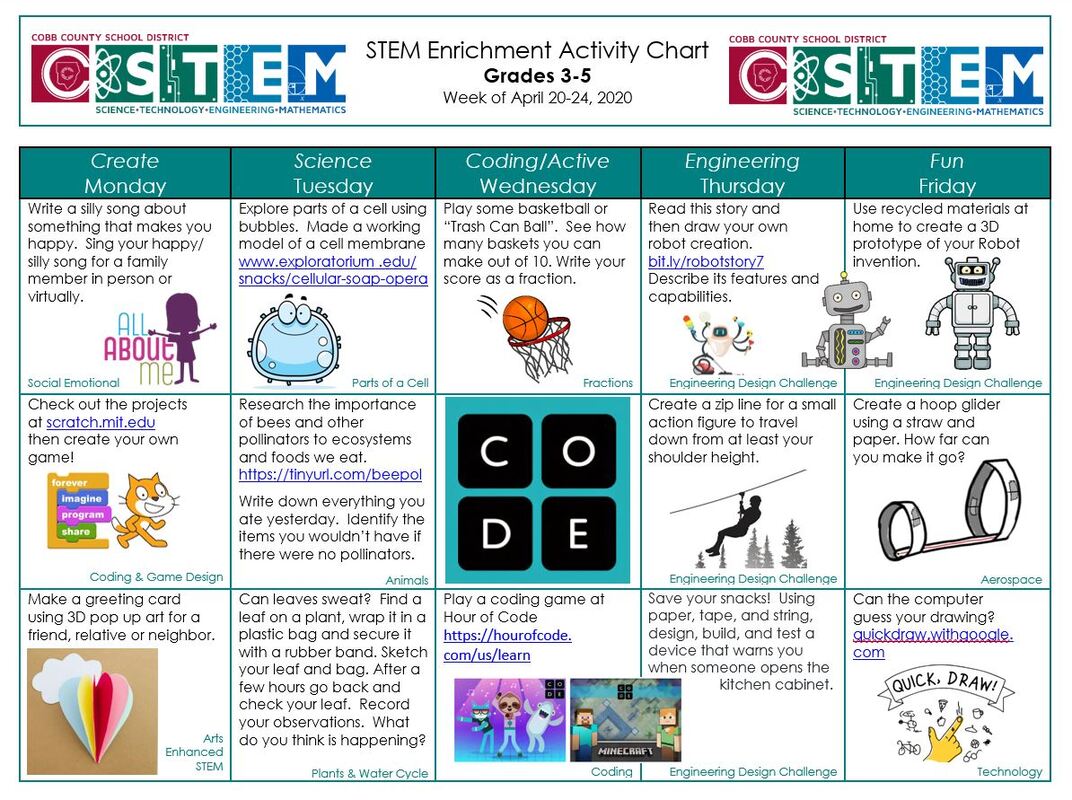
| 3rd - 5th Choice Board.docx |
|
2 Comments
Welcome back to your final week of digital learning! You did it! Here's one last activity to get you to summer. At the end of the year, students learn to ask questions to identify and explain the uses of simple machines (lever, pulley, wedge, inclined plane, wheel and axle, and screw) and how forces are changed when simple machines are used to complete tasks (S4P3.c). We are going to build a simple machine and convert measurements from larger units to smaller units (MGSE4.MD.1).
Materials: Building materials you can find around your home- consider cardboard, craft materials like popsicle sticks, and common desk supplies. Materials needed are dictated by student designs! You know what comes first! Let's read and learn!
Let's try a simulation that lets you see balanced and unbalanced forces! Can you keep things balanced? Feel free to play here or click this link to play full screen: https://phet.colorado.edu/sims/html/balancing-act/latest/balancing-act_en.html
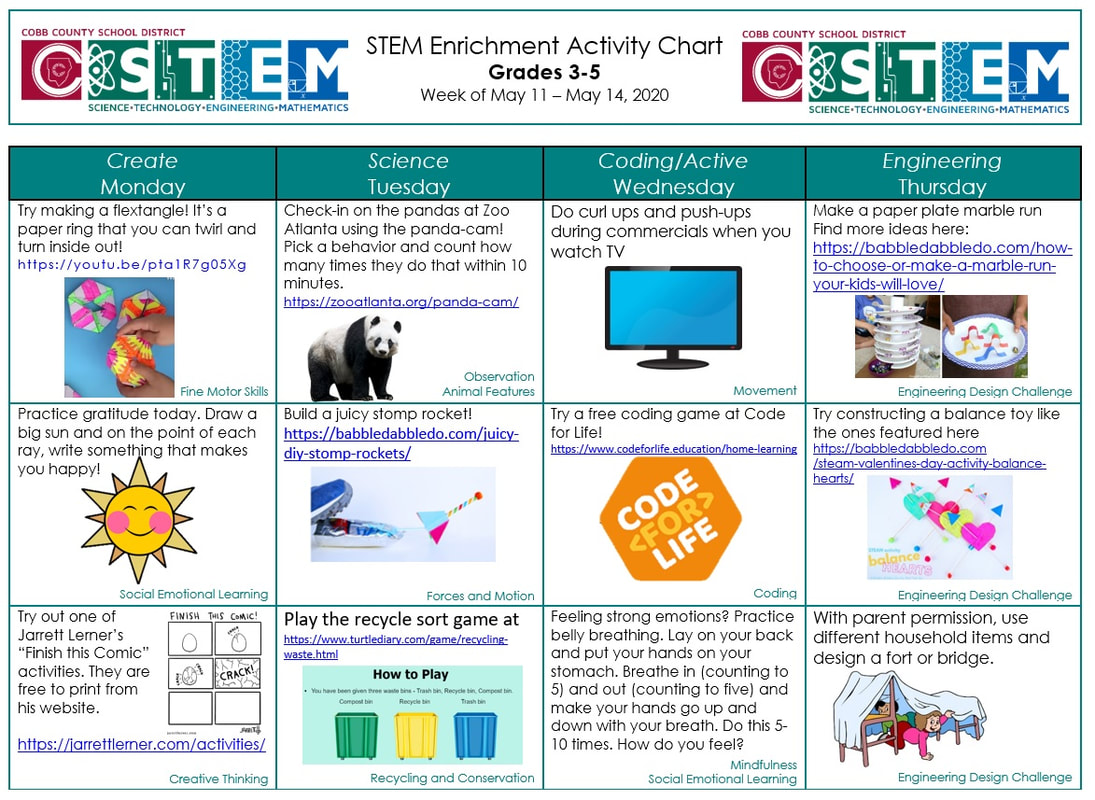
Now that you know how to keep forces balanced, we are going to create something to make them UN-balanced! Your challenge this week is a build a catapult that will launch a small item (like a penny or paper clip) as far as possible! Ask yourself, how could a launch a small item across the room using a simple machine? Brainstorm possible ideas! Consider which type of simple machine would make the best catapult and what materials you could use around your house to construct your design. With your parents' permission, gather materials and create your design. Evaluate your design by trying to use it. Does it work? Could you make it launch farther? Measure the distance that you're able to launch your small item and try converting it to other units. If you measure in meters, how many centimeters did it go? Check your work! Could you do anything to improve your design and launch things further? Have a blast launching items around your house and have an amazing summer!
All our love! Your STEM Cobb Team
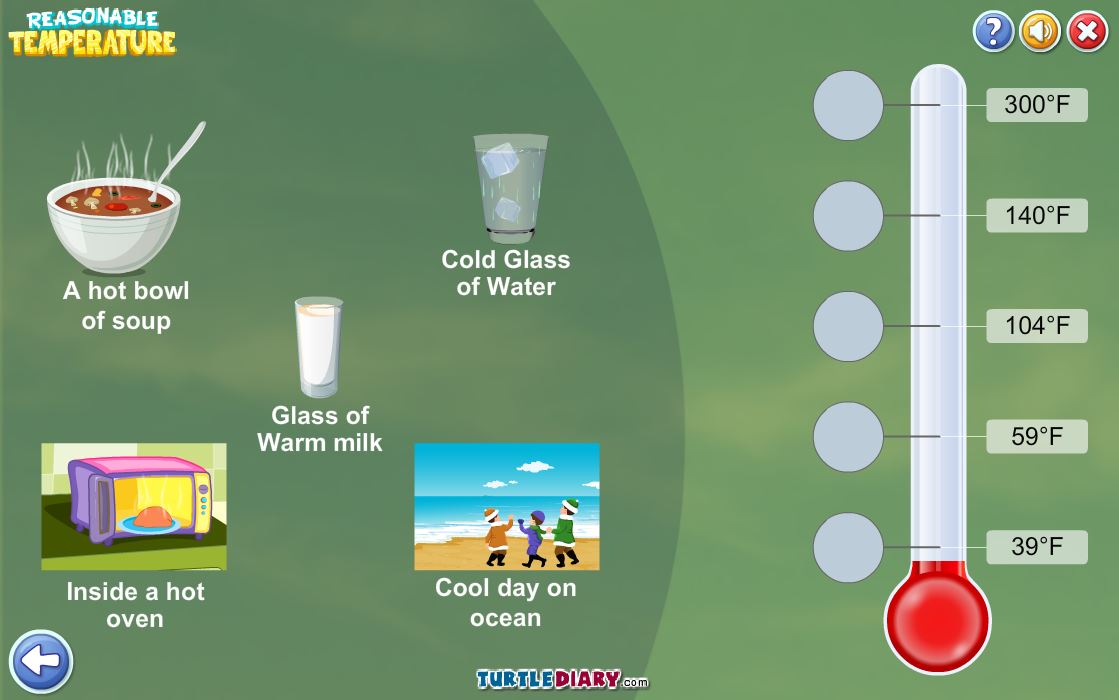
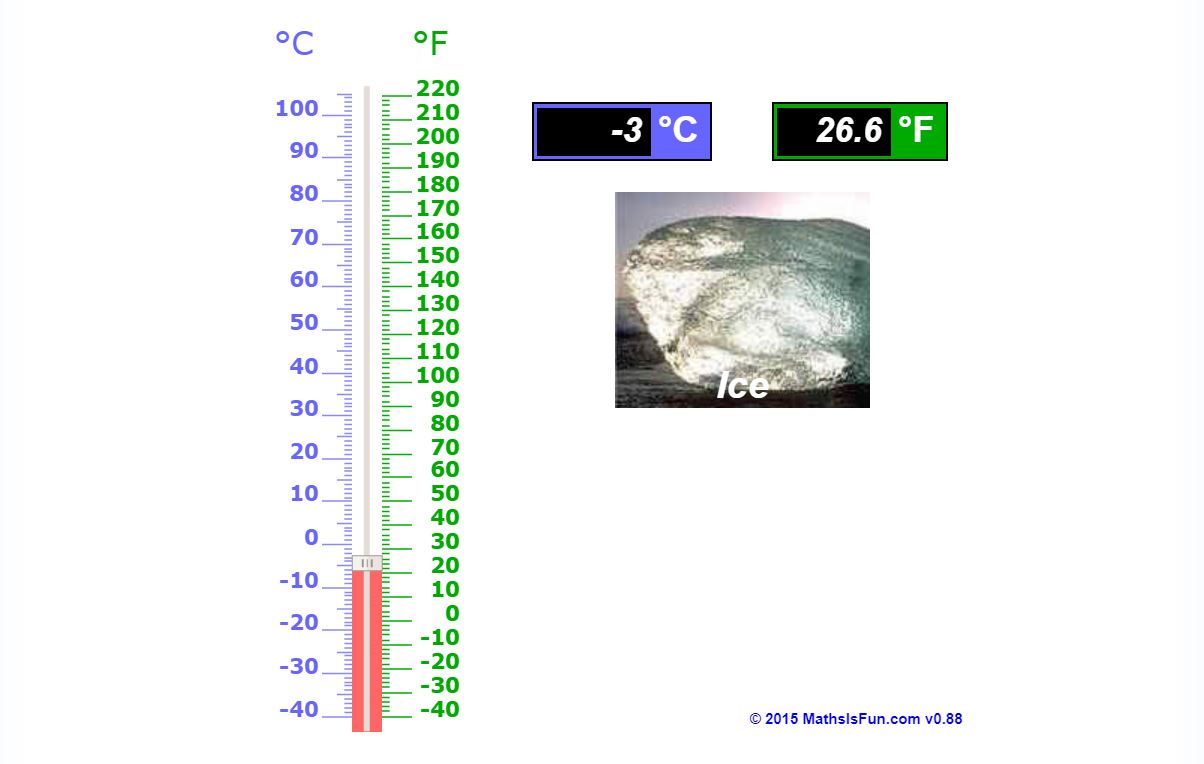
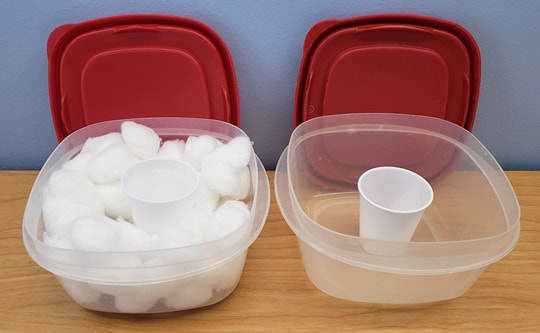
Thanks for coming back to check out STEMCobb! This week, we will be using everyday materials to design and construct a device/structure that will decrease the warming effects of sunlight on ice cubes (S3P1.c). We will have to tell time to see how well our creations keep things cool (MGSE3.MD.1). Let's get into it! Materials: plastic tupperware container, small cup, ice, and insulation materials (students pick from items around the house) Let's start off with a great book. Check out some things that happen in the midst of a heat wave! Here are a few online activities that you can try out to be sure that you have a good understanding of temperature! Click on the photos to go to the games! Now it's time to try out a STEM challenge to help us understand more about decreasing the warming effects of the sun! Today, we are going to construct our own coolers! Ask yourself the question, what materials could I pack around a cup of ice to decrease the warming effects of the sun and keep the ice from melting? Brainstorm some materials that you think would keep the heat away from the ice. Here's a picture of the best way to set up this challenge. You can make adjustments to fit what you have at home! Once you've decided on the best insulation, work to design a whole cooler that keeps ice from melting in the sun! Set up 2 containers to help you see if what you choose to pack around the cup of ice slows down how quickly it melts, or if it melts at the same time as the cup with no insulation. Create your cooler and set it outside in the sun. Note the time! Here's how you can evaluate the material you chose! Check on the ice in both containers every few minutes and record the time when the ice in both cups melts. Use your awesome math skills to figure out how many minutes it took each cube to melt. Can you improve your design so that it takes longer for the ice to melt? Give it a try!
This week we are diving into the exciting world of simple machines! They are all around us and provide wonderful learning opportunities while we're at home. Students in upper elementary school should be asking questions to identify and explain the uses of simple machines (S4P3.c). Students also convert among different-sized standard measurement units (MGSE5.MD.1).
Materials: paper pencil measuring tool materials for building found around your house Let's learn simple machine basics with a song! Watch it once to enjoy the animation and beat, watch it again to be sure you understand what the words are teaching you! Type in your name and click "Join Session" below. This session will stay active until May 30th. 
Next, it's time to try one of the most fun apps EVER for learning about simple machines. Download INVENTIONEERS for free and see if you can build simple machines to accomplish silly tasks! This game does a great job of teaching how the combination of simple machines and gravity can accomplish big things!
Now it's finally time to work on a STEM engineering challenge. There are so many different simple machines challenges out there, but this is the one we liked the best! Today you are going to build a snack delivery launcher! Consider what you know about levers. Ask yourself, "How can I build a lever launcher that could send a snack across the room to a family member?" Consider using snacks like bites of cereal, fruit snacks, or goldfish. Brainstorm ideas for your design. Consider what you have handy at your house to build with. What could you build the lever from? What would make a good fulcrum? How long and high do both of those parts need to be? Once you've settled on a design, create it! Then take a stab at launching some snacks! Evaluate your construction: How far did they travel in inches? How far did they travel in feet? Did it make the snacks go the direction you intended? Take time to improve your design to make it launch more accurately. Have fun! Below are some design ideas in case you are stuck.
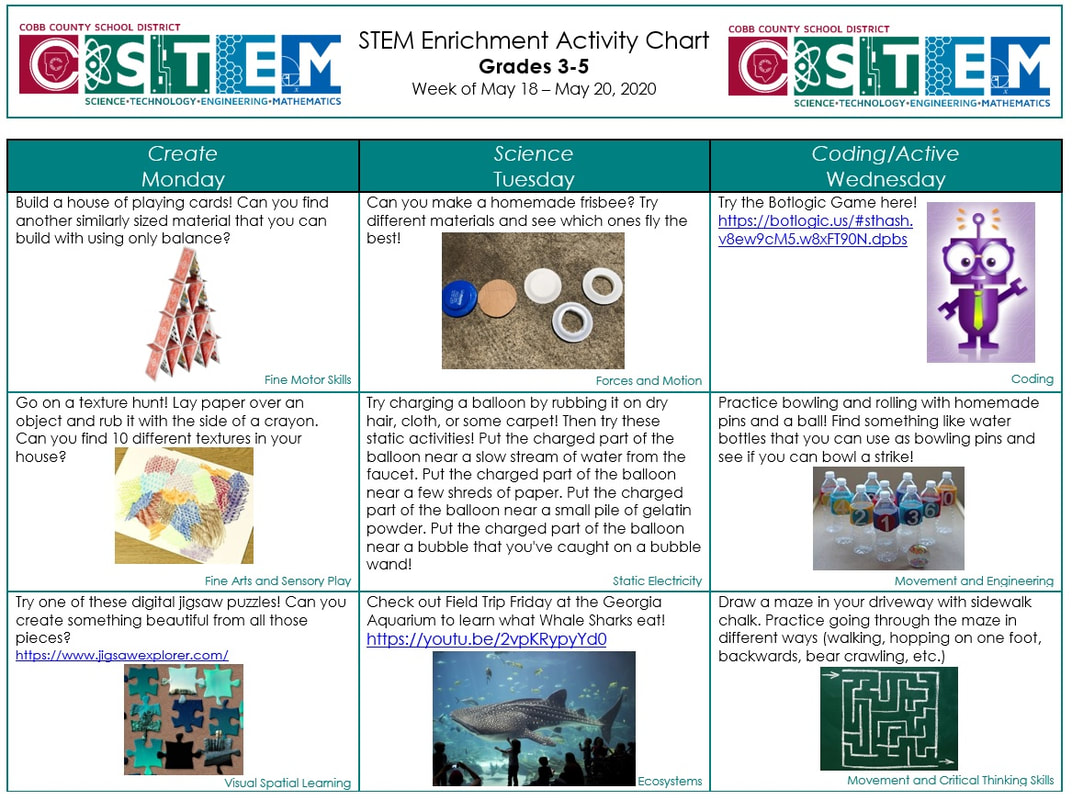
It's STEM Challenge time! This week we are taking on the study of circuits and electricity! Students in older grades are asked to design a complete simple circuit and explain the necessary components (S5P2.b). For this week's challenge, students will also be asked to exercise their math skills by identifying acute, right, and obtuse angles that exist in their circuits (MGSE4.G.1).
Materials: paper pencil computer This week, we are going to start with an amazing song that explains the basics of current (or moving) electricity. Watch it once to enjoy the animation and beat, watch it again to be sure you understand what the words are teaching you! Type in your name and click "Join Session" below. This session will stay active until May 23rd.
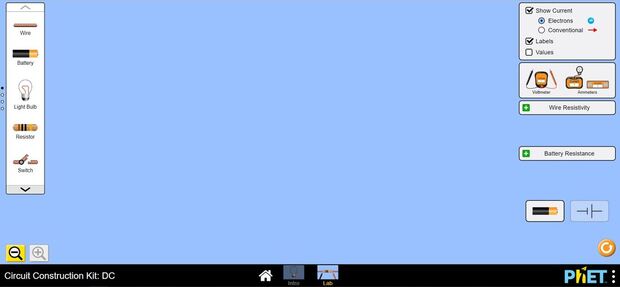
Let's jump into it! This week's challenge is going to look a little different. You are going to open a digital circuit builder and then scroll down for your specific challenges- you will have to click back and forth between this screen and your circuit builder screen. This circuit builder has a built-in tutorial if you're not sure how to use it! Click on the image below to open it up, then come back for your challenges below!
Now that you've found the circuit builder, here are your challenges for this week!
CHALLENGE 1: Light the light bulb You may use: ONE light bulb, ONE battery, and ONE wire. I promise it's possible! Math connection: Can you identify ONE acute angle in your circuit? CHALLENGE 2: Light the light bulb You may use: ONE light bulb, ONE battery, and TWO wires Math connection: Give your circuit ONE right angle. CHALLENGE 3: Light the bulb with a switch You may use: ONE light bulb, ONE battery, THREE wires, and ONE switch. Math connection: How many angles can you find and record? STEM ENGINEERING CHALLENGE: Ask yourself, can I construct a testing station to see if common items will allow electricity to pass through them? We call materials that allow electricity to flow CONDUCTORS. We call materials that stop electricity INSULATORS. Use the down arrows on your tool bar to get to some materials for testing. You should see things like a dollar bill, eraser, a coin, and more! Brainstorm a way to see if these items will allow electricity to pass through them. Create a circuit with a gap for testing! Try out some different things to see if they are conductors or insulators. Record your results! Evaluate your design- could you tell which items were conductors and which were insulators? Improve your design if you need to! Did you get stuck? Scroll down for some pictures of possible correct solutions for the challenges! Keep scrolling for answers! Here are a few possible answers! Yours might look a little different depending on where you put the parts, but as long as you used the correct number of pieces and lit the bulb, you did it!
Welcome back to another great week of STEM learning! Hopefully you have MANY answers to the question, "Why do we wear clothes?" but this week we are tying our need to clothe ourselves with the 3rd grade science and study of HEAT! In 3rd grade, students learn to use tools and every day materials to design and construct a device/structure that will increase/decrease the warming effects of sunlight on various materials (S3P1.c). They also study the mathematical concept of AREA , which will be important for our challenge today (MGSE3.MD.6). Materials: paper bag clothespins paper towels plastic spoon string pencil paper **These materials are listed for our activity, but please use whatever you have! This is a great activity for getting creative and using what's available! Just as great scientists start their studies with reading, so do we! Here's a great book about the sun's energy! This week, we have a second very exciting video to share with you. This video is interactive, so discuss what you think with your parents when the video stop and asks you questions! Enjoy taking a little time to learn about heat and the different reasons that we use different types of materials. This video will also be introducing our challenge for today! Listen closely at the end, and if you miss it, just read below for a recap. Click on the picture to go to the Mystery Science video. This link will work until June 30th. Here's a recap of your STEM challenge for this week! You are going to be using simple materials to make a HAT to keep you cool. You learned in the video that hats made for keeping us cool have a stiff brim to shade us from the sun. Once you've made your hat, you're going to try and find the area of your brim to make sure you've made the best use of your materials. Ask yourself, how can I arrange my materials to make the best hat for shading myself? Take some time to brainstorm ideas. Use your materials to create your hat. Step outside on a sunny day and see if it provides the shade you'd hoped. Evaluate: Does my hat shade my head and neck in the best way possible? Take some time to improve your design!
If you can, snap a picture of you in your hat and share it on social media! We would love to see your amazing creations on Twitter (@stemcobb) and Facebook (www.facebook.com/Stemcobb). |
AuthorThese activities are being compiled by your STEMCobb team. Archives
May 2020
Categories |
||||||||||||||||||||||||

 RSS Feed