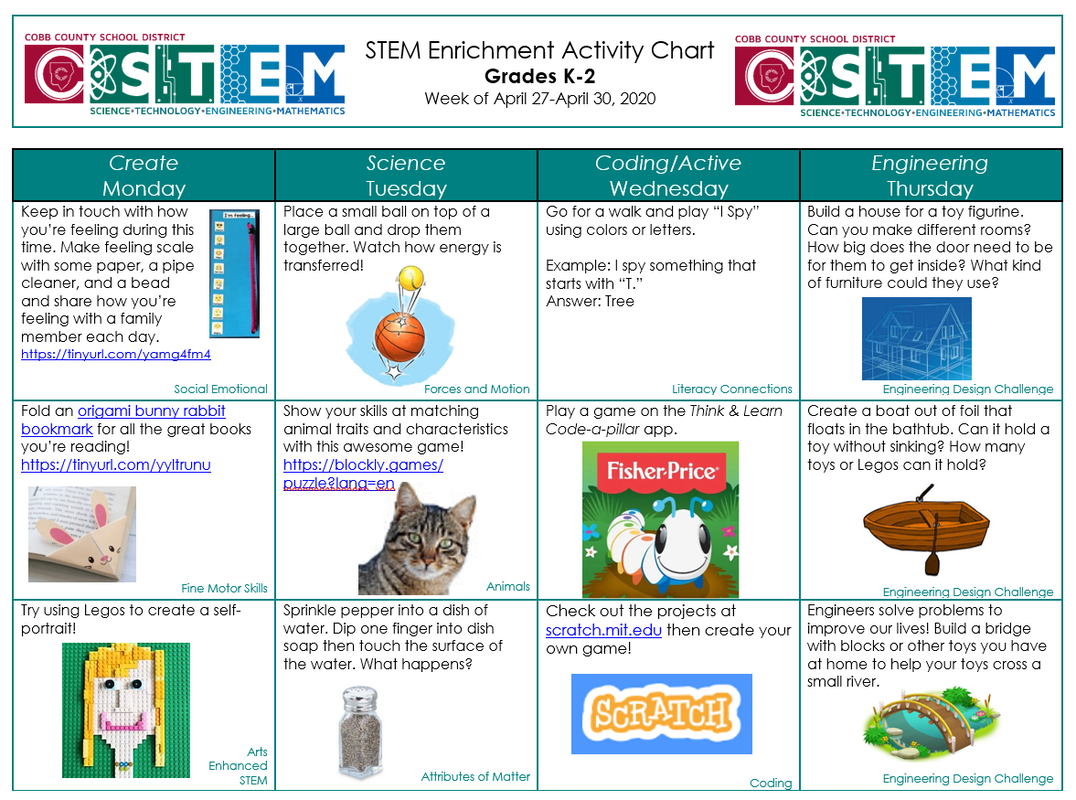
| K-2 Choice Board April 27-30.docx |
|
Welcome back to another great week of Digital Learning! This week we are going to be studying some differences between animals. Encourage your young ones to notice the features of family pets and animals that they can safely observe outside! How could they construct an argument supported by evidence for how animals can be grouped according to their features (SKL2.a)? The challenge this week will also require students to Organize, represent, and interpret data in order to make the best choices for their design! (MGSE1.MD.4) As good scientists do, let's learn from a great book! We like this one from James Bruchac.
What kind of birds live near your home? Take a few days this week to really pay attention. Pick about 15 minutes a day to go outside and be still and quiet. Mornings are best, but you can try anytime that works for you. Can you hear or see any birds? If you can, try to identify what kind they might be and make a list to track your data! Here's a really helpful app for that. 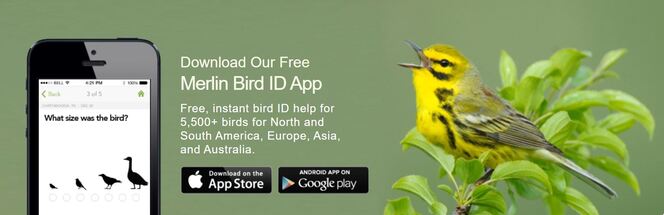 What does your data show you? What kind of birds like to live near your home? Here's your challenge for this week! Parents, ask your students, can you use your data to help you build a bird feeder that your neighborhood birds would enjoy? Do a little research as you brainstorm ideas for different types of feeders and what type of food you may want to use. Can you use materials from home that would hold the type of food you choose? Create your bird feeder. Put it outside and see if the birds like it. Evaluate your design with these questions: Does it hold up to the spring weather? Are birds visiting and enjoying the food? Can you re-fill it? Try and improve your design if you can! Not able to observe birds where you live? Check out these resources and web cams from the Cornell Lab or Ornithology! 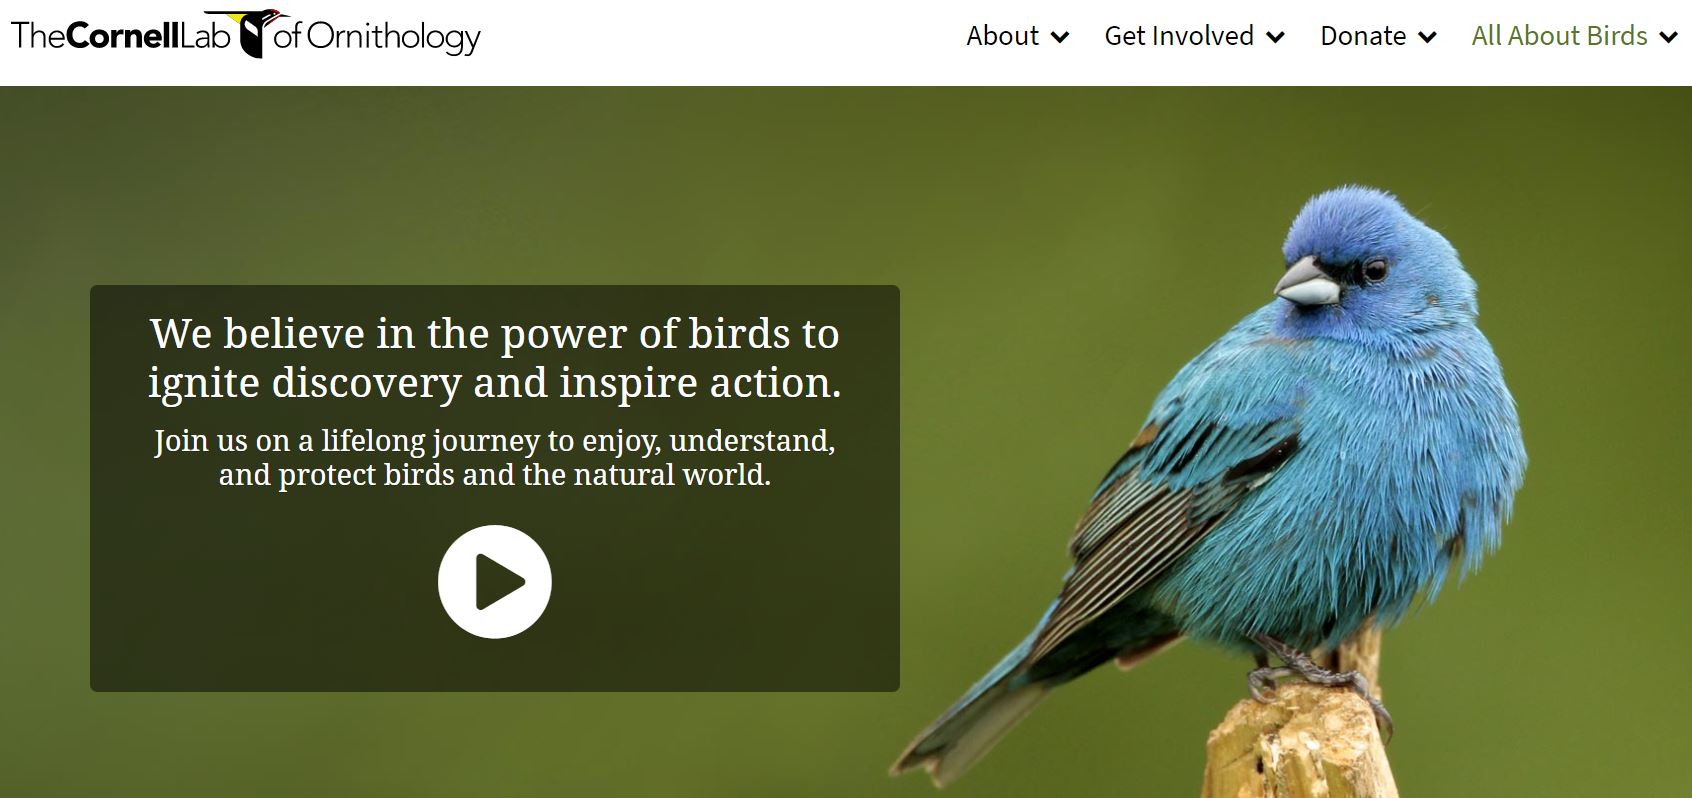 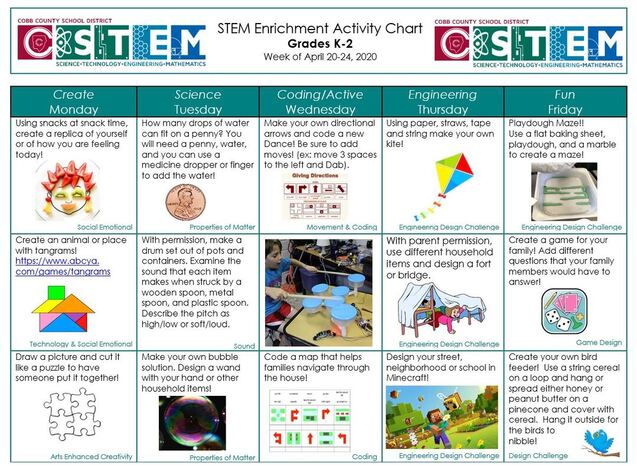
Welcome back to another awesome SPRING-TIME week of STEM learning! This week, encourage your young ones to take a close look at plants. Plants are going crazy with new growth during this season and it's a great time to observe and document. 2nd graders typically spend a great deal of time in the 4th quarter learning to investigate the life cycle of a plant by growing a plant from a seed and by recording changes over a period of time (S2L1.b). They also study linear measurement and practice both estimating as well as measuring using standard units (MGSE2.MD). This week, students will design a tool for planting using what they know about both of these topics! Materials: paper pencil tool for measuring (ruler, tape measure, etc.) empty cereal box (or something similar) As always, we will begin with a book! Here's another one that we love by Gail Gibbons!
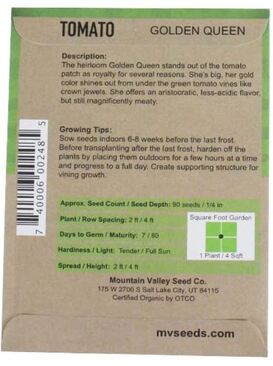
Help your child to look at a seed spacing chart and pick a certain type of vegetable whose seeds need to be planted no more than 6 inches apart. Here is a chart that could be helpful! Ask your child what they could make using a flattened cereal (or other thin cardboard) box to help someone planting to know just where to put the seeds. Allow them to brainstorm some ideas. Give them materials for both measuring and cutting so that they can create their design. Stay nearby to help them if they decide to cut holes and need a hand! Evaluate: Can this be used to keep the seeds planted at the right distances from one another? If possible, allow your child to plant a few seeds using their device. Give them a chance to improve their design! Here are a few ideas for regrowing foods that you may have in your home. No need to go to the store if you have some of these things nearby! This week, encourage your young learners to observe natural systems by watching, recording, and noticing patterns of weather! In 1st grade, students are asked to obtain, evaluate, and communicate weather data to identify weather patterns (S1E1). The weather changes dramatically during the springtime, making this a great weekly focus! Students will be using their knowledge about wind in order to construct a kite from home materials. They will be combining 2 dimensional shapes to create a new composite shape for their creative kites (MGSE1.G.2). Materials you will need: paper, straws, string, and markers or crayons **If available, you can also use the following materials during construction: a ruler, tissue paper, plastic wrap, cardboard, ribbon Here's a great place to start- A BOOK! Please share this book with your child. Now, let's check out a weather game! Can you pick the right clothes to fit the weather outside? Click on the picture to visit the website. 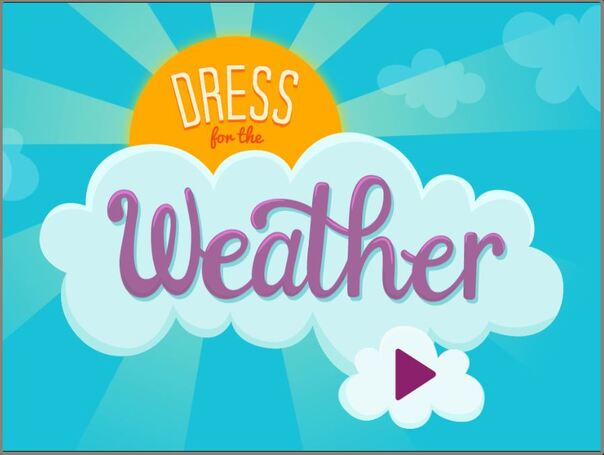
This week, students will be creating their very best wind-catching kite! This can happen over several days and have many different iterations. Ask your child what shapes they think will best catch the wind? Encourage them to put a few different shapes together to create their final design. Allow them to brainstorm some ideas. Give them any materials you can from around your home so that students can create their kites. Now go outside and give them a try! Evaluate: what worked well and what didn't? Can part of the design be changed to catch more wind? Give students a chance to improve their kites, or maybe even try and totally different design altogether. Good Luck! ...and try your best to keep this song from playing on repeat in your head all week! Have fun! |
AuthorThese activities are being compiled by your STEMCobb team. Archives
May 2020
Categories |
||||||||||

 RSS Feed