| K-2nd Grade Choice Board.docx |
|
0 Comments
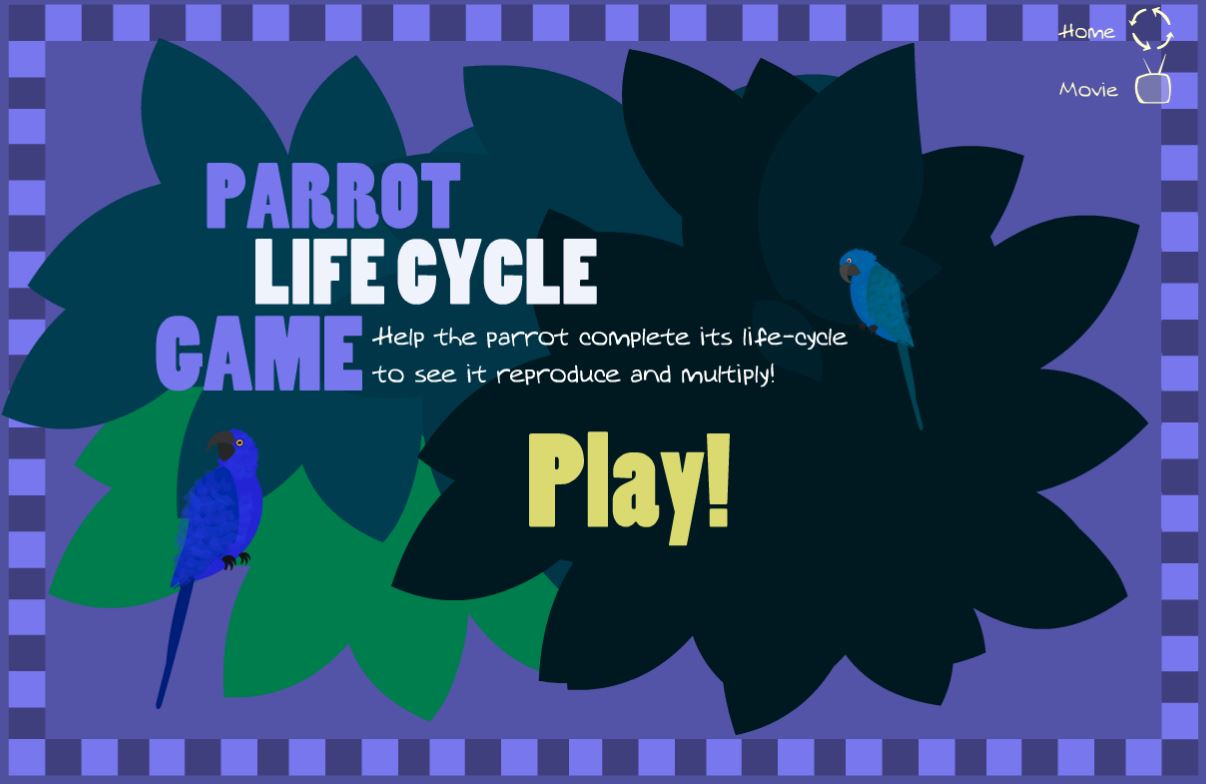
Welcome to our final week of digital learning! We are thankful that you've continued to check in and try out these awesome STEM activities at home! This week, we are taking our last look at life cycles by focusing on birds. Young students should be able to determine the sequence of the life cycle of common animals in your area- including birds (S2L1.a)! We are also going to fluently adding and subtracting within 20 using mental strategies (MGSE2.OA.2). Let's get into it! Materials: eggs cardboard (corrugated works best) toothpicks As we've done each week- let's start by learning from a great book! Here's one we like! Now let's take what we know about chickens and see if we can apply it to another bird's life cycle. Try out this online game to see if you can correctly order the life cycle of a parrot! Click on the picture to open the game (Parents: requires Adobe Flash Player) Finally, let's do some engineering! The most fragile part of a bird's life cycle is certainly the while they are inside an egg. Birds are GREAT at building soft and protective nests to keep their eggs safe. In our home, we normally keep eggs for eating! What if we didn't have the amazing egg cartons that keep our eggs from rolling around and getting broken!
Ask yourself, can I build a simple device to keep eggs from rolling using just cardboard and toothpicks? For this challenge, you only get 20 toothpicks and a rectangular piece of cardboard (parents, cardboard should be about the same size as an egg carton). Brainstorm ideas for how to keep your egg from rolling around. Think about how you might keep more than one from moving - how many toothpicks do you need for each egg? Gather your materials and create your design! Evaluate the design by putting a few eggs in and seeing if they stay put. Can you come up with any ways you could improve your design? Could your design be altered to protect more eggs? Have fun and have an amazing summer!
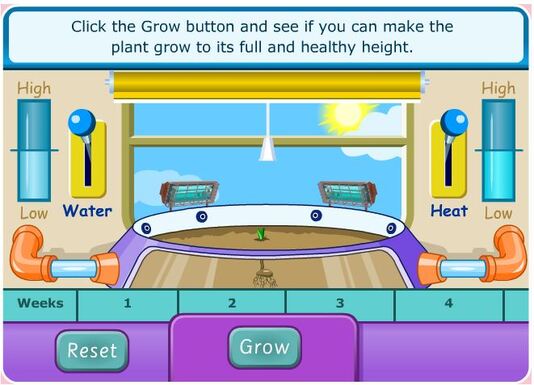
Welcome back young ones and parents! At this time of year, primary students are learning to obtain, evaluate, and communicate information about the basic needs of plants (S1L1). This week, we are going to be creating a brand new plant with those needs in mind! We are also going to use some non-standard units to measure our plant using materials we have in our homes (MGSE1.MD.2). We are also going to share our work with an adult and tell them why we made the art choices that led to our new plant (VA1.RE.1). Let's get started! Materials: Any arts/crafts materials you have around your home A small amount of a toy with a standard size (Legos, crayons, wood blocks, etc.) Do you already know what a plant needs to survive? Double check your thinking by reading (or listening to) this great book! Think you've got it figured out? Try out what you know using this online game! You will be clicking the water and heat levers to keep the plant happy and growing! (Parents: Requires Adobe Flash Player) Click on the picture to go to the game. Now that you're an expert on the 4 main things that plants need to grow (air, water, light, and nutrients) you are going to get creative today with our STEAM challenge!
In today's challenge, you are going to use what you've got at home to create a plant for the make-believe Planet Greenhouse! Planet Greenhouse is the perfect environment for new plants. There's plenty of air, light, water, and very rich soil, but the plant you design needs to be able to take in those essential things. You'll need a plant with strong roots and leaves, and maybe even some fruit or flowers that it can grow in such a rich environment! Ask yourself the question, "How can I use mixed media to create a 2D or 3D work of art depicting a new plant?" Take a look at the materials you have at home and brainstorm a plan for using them to show a plant with roots, leaves, and either fruit or flowers. Have fun creating a plant with plenty of color and personality! Tell an adult about the artistic choices you made when creating your plant. You could talk about the media, size, proportion, shape, color, texture, etc. Let's evaluate the size of your plant using a new unit. Pick out a group of toys you have at your house that are all the same size. How big is your plant in Legos? What about crayons? How many crayons tall is your plant? Show your parents your work and be careful! Decide if there are any parts of your plant that you'd like to improve or change. Have a blast and feel free to share your designs on twitter and tag @stemcobb so that we can see your designs!
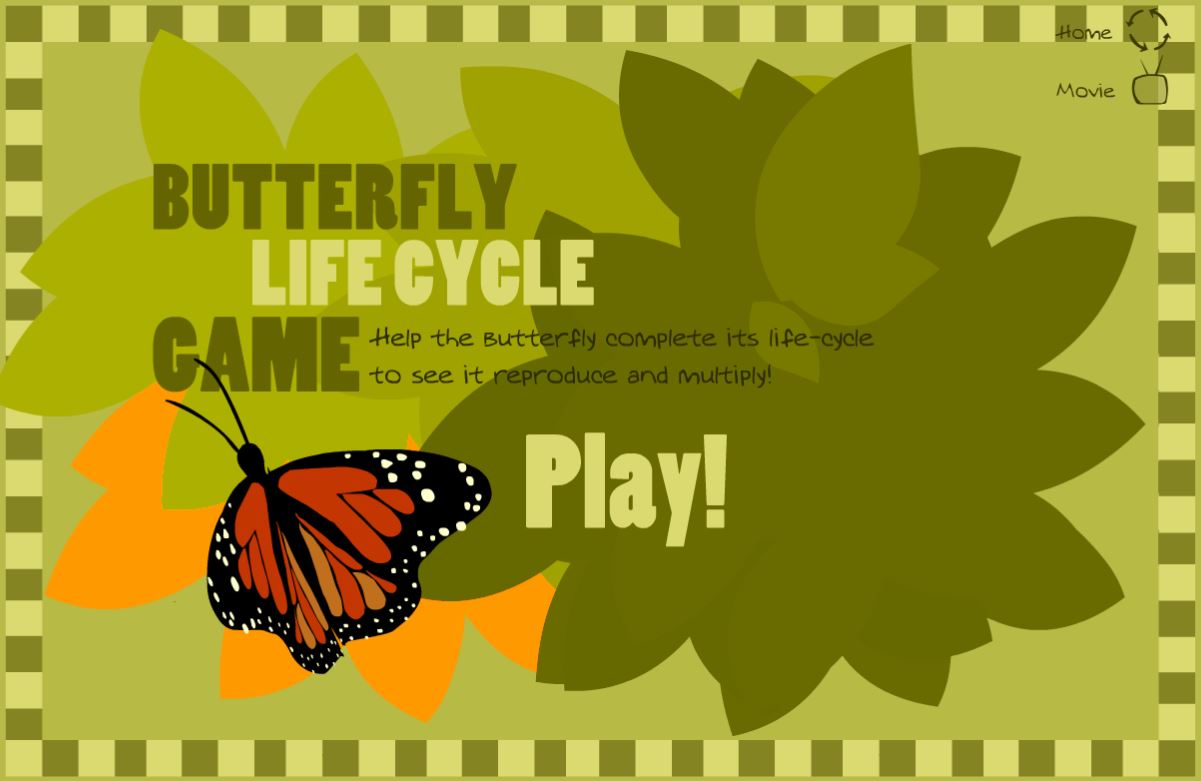
It's another beautiful week for digital learning! Young learners typically spend some time in the spring learning about life cycles. Students are specifically asked to determine the sequence of the life cycle of insects, such as butterflies (S2L1.a)! This week let's dive into the butterfly life cycle and learn how it's similar and different from other life cycles we know. We are also going to measure to determine how much longer one object is than another (MGSE2.MD.4) when we dig into our STEM challenge for this week. Materials: empty toilet paper roll empty paper towel roll paper coloring supplies **building materials you can find around your house- this will look different for everyone. Don't stress it- just use what you have and have fun building Let's jump right into the learning with a great book! This one is called The Amazing Life Cycle of Butterflies. Now that you've learned the steps from a book, let's practice putting them in order. Use this online game to help you review and make sure you totally understand the life cycle. Click on the picture to go to the game. (Parents: Game requires Adobe Flash Player) As you've learned, butterflies go through a pupa or chrysalis stage where they create a hanging cocoon and undergo a complete metamorphosis! This stage is very important and butterflies will often hang their chrysalis on a branch or under a leaf so that once they come out as a beautiful butterfly, they can hang and use gravity to help stretch out and dry their new wings!
Today for your STEM challenge, you are going to try and do what butterflies do! Find an empty toilet paper or paper towel roll in your house and use it to represent your cocoon. Ask yourself the question, can I build a structure for hanging this cocoon high enough to allow a butterfly to emerge and dry their wings? Have fun with this project! Make a paper butterfly and hide it inside the empty roll. Make the butterfly just shorter than the roll using your measuring skills- butterflies don't leave much empty space for themselves! Brainstorm ideas for hanging your cocoon. Find materials around your house to hang your cocoon and create your structure. Evaluate your design by trying to pull out your butterfly. Did he have enough room to escape? Do you need to improve your design? Have a blast engineering like a butterfly! |
AuthorThese activities are being compiled by your STEMCobb team. Archives
May 2020
Categories |
||||||||||||
 RSS Feed